Official Manual · First-Time Setup
Shadowrocket Setup Guide
Add an existing subscription or server, choose Global Routing, connect, then check Connectivity Test against the results of actual browsing.
Step 1 · Prepare a server entry
Add Server: Add a server or import a subscription
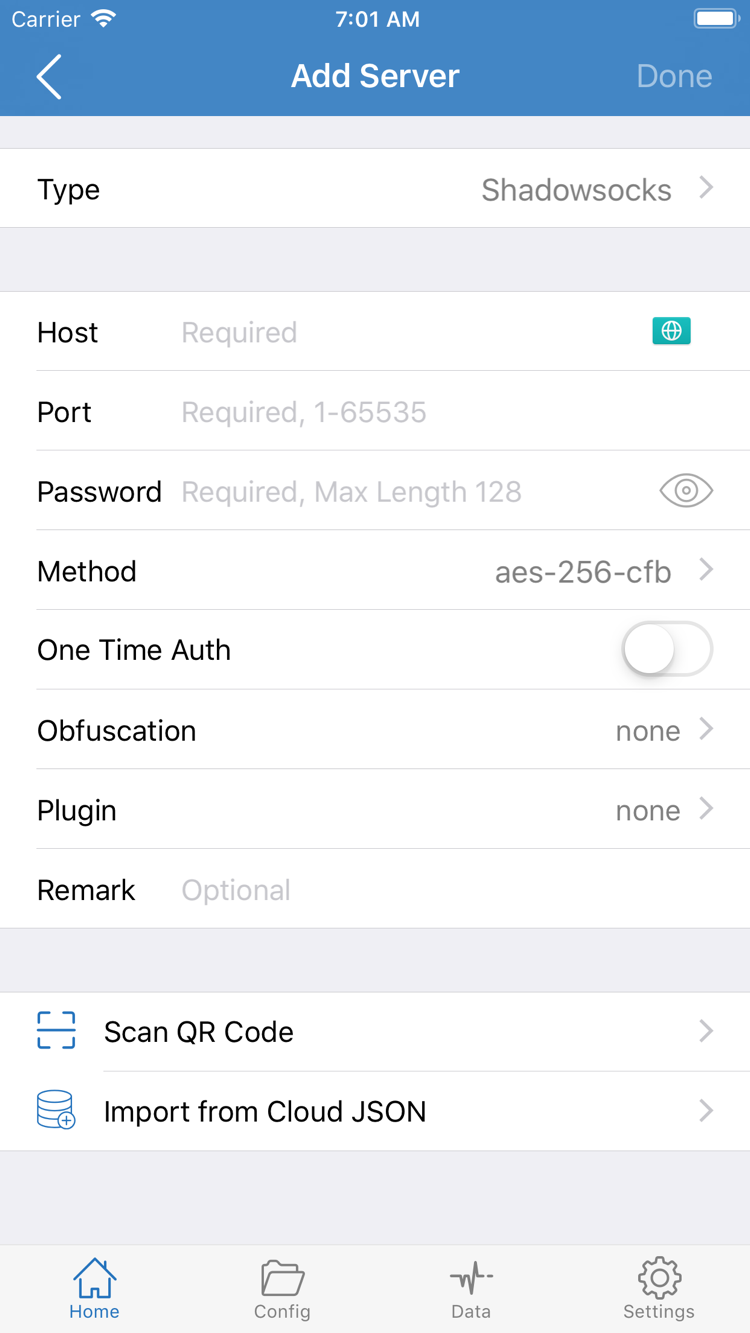
Find Add Server in Home, then identify what kind of details you have. If your provider gave you a protocol type, address, port, and credentials, add a single server manually. If you have a subscription link for retrieving a group of servers, choose Subscribe. Use only one method for the same set of details. A subscription link is usually a URL, but it is not a server address and cannot be entered as a server under Host.
Enter a single server
After opening Add Server, use Type to select the protocol specified by your provider, then fill in the displayed fields. Enter the provided hostname or IP address in Host, and the corresponding port in Port. Password and Method shown in the screenshot are examples of fields in this type of form; required fields change when you select a different Type. Do not copy the field combination from the screenshot or try different protocols to make up for missing details.
Before saving, compare each field with the original details. When copying an address, check for spaces or line breaks at either end. Enter the port separately as provided. If your provider supplied a QR code, look for Scan QR Code on the same page. After scanning, check the import type and server address. Import from Cloud JSON is for importing JSON, not for a standard subscription link.
Import a group of servers
Choose Subscribe from the Type options in Add Server, paste the complete subscription link from your provider, and save. Do not omit parameters at the end of the link or include accompanying instructions. A subscription link may contain access credentials. When reporting an issue, share only the error text and time; do not disclose the original link or a screenshot containing it.
Before continuing: Return to Home and confirm that the saved entry appears under SERVER, or that actual servers are listed after expanding a subscription group. Seeing a group name does not mean a server list has been retrieved. If the group is empty, go to Common issues first; do not continue testing the connection with an empty list.
Step 2 · Choose where requests go
Global Routing: Choose Config, Proxy, or Direct
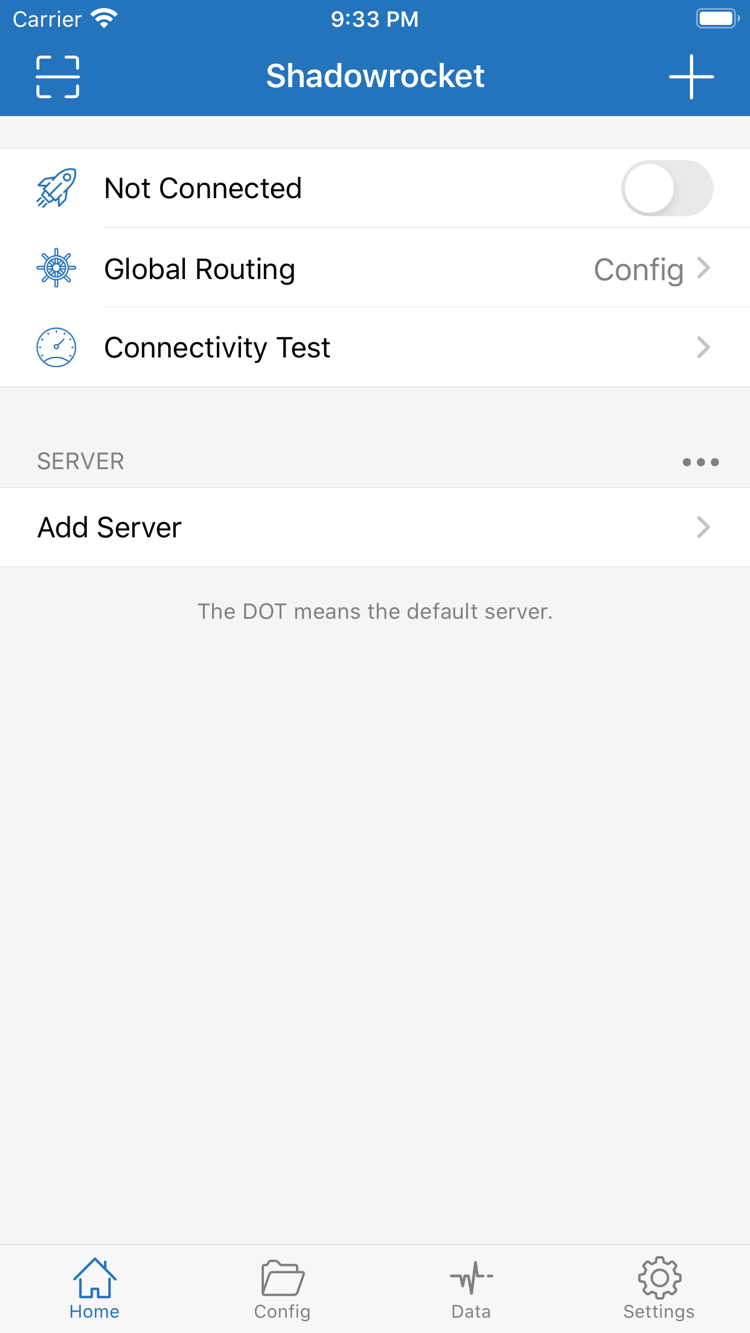
Tap Global Routing in Home. This controls how the client handles traffic after connecting. It is separate from selecting a server under SERVER. Selecting a server as the current entry does not automatically change Global Routing to Proxy. Choose the mode you want to verify, then start the connection in the next step.
Choose a mode for this test
- Config
- Handle requests according to the currently active configuration file. When a domain or network range matches, use the policy specified by the rule. If no earlier rule matches, check the destination set by
FINAL. Choose this mode when you know the configuration contents and want to verify everyday routing. - Proxy
- Send traffic handled by the client through the currently selected proxy server, instead of routing it rule by rule according to Config. For initial troubleshooting, use it briefly to check whether the server can handle requests separately from whether a target matches the expected rule.
- Direct
- Let traffic handled by the client access its destination directly, without going through the selected proxy server. This does not turn off the connection switch at the top; you can leave the switch on while using it for comparison.
With Config, check which file is active
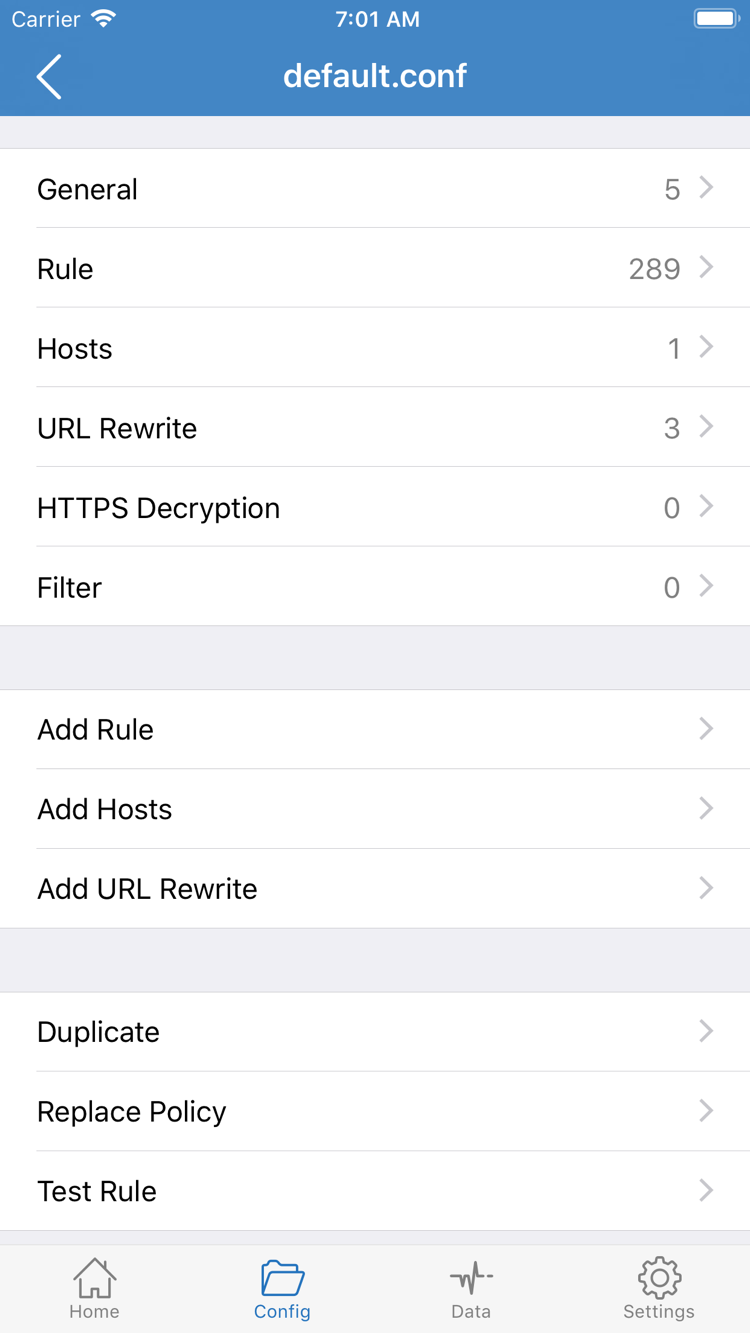
If you chose Config, open the Config tab at the bottom and confirm which file is currently active. Open that file and view Rule. Find the conditions and policies relevant to your target, then check the order of those rules and the FINAL rule at the end. For example, a matching rule that points to DIRECT can explain why a request goes direct even though the connection is on.
Before continuing: Return to Home and check the mode shown next to Global Routing. There is no need to change rules and servers at the same time for an initial test. Note the current mode, then decide whether anything needs adjustment after checking the results. See the glossary for rule keyword definitions.
Step 3 · Start the connection
Home: Select a server and connect
Check that the dot marks the server you want to test
Return to Home, find the server you want to use under SERVER, tap its entry, and check that the dot marker has moved to that row. If you imported entries with similar names, compare their notes or addresses to avoid selecting a previously used entry. Expanding a group or opening a detail page does not select a server. Keep the current Global Routing mode after selecting a server so you can use the same mode for the next test.
Respond to the first system confirmation
When Not Connected appears at the top of Home, tap the switch on the same row. The first time you connect, the system may ask to add a VPN configuration. Confirm that the request was just initiated by Shadowrocket, then allow it and follow the system prompts to complete verification. If the configuration was already added, the prompt may not appear again. If you accidentally canceled the prompt, return to Home and start again; there is no need to import the same subscription again.
After confirming with the system, return to Home, wait for the status to stabilize, and check that the switch stays on. If it quickly turns off again, do not repeatedly toggle it or switch between servers. Note the system prompt and the switch behavior, then follow the troubleshooting steps below. A lit switch indicates that a local connection has started; it does not by itself confirm that the selected server is available or that a particular target is routed as expected.
Step 4 · Compare two results
Connectivity Test: Verify with actual browsing
After connecting, run Connectivity Test from Home and wait for the result. Compare it with the server, Global Routing mode, and network conditions at the same time. For example, note whether you were on Wi-Fi or a cellular network. The test indicates reachability using the test method at that moment; it does not mean every app, domain, or request will have the same result. A single failed test is not a reason to immediately reinstall the app or clear your configuration.
Next, use a browser to visit a page you normally use and actually need to test. Try loading content that requires a fresh request rather than relying on an already open tab; cached content can remain visible without a new request. To verify Config, choose one target expected to use DIRECT and another expected to use PROXY, then record whether each one loads. A page loading successfully only confirms that it was accessible; that alone does not show which policy handled it.
If the test succeeds but a particular target does not load, keep the server unchanged and check how the target matches Rule. A webpage may also load resources from domains beyond the main address, so do not check only the domain in the address bar. To compare, switch temporarily to Proxy and open the same page again on the same network. If it loads under Proxy but not under Config, check rule order and fallback policy first. After the comparison, restore your usual mode and confirm it is displayed on Home.
Step 5 · Check where the issue occurs
Settings: Troubleshoot based on where the failure occurs
Start in Home to identify the layer where the issue occurs: an empty list, a switch that will not stay on, a failed test, or an unexpected result for only a particular page. Do not change the protocol, switch servers, and edit rules at the same time. Work through the cases below in order; there is no need to change a later setting if an earlier step has not passed.
A subscription group appears, but contains no servers
First, confirm that you selected Subscribe when saving. Then compare the link with your original subscription details and check that it is complete, especially any query parameters. If the subscription group has an update option, check your network and update it once, then return to SERVER to see whether server entries appear. If the list is still empty, ask the provider who supplied the subscription to check its status and response. Adding the same link repeatedly only creates more groups to check.
The switch turns back on after being turned off, or will not stay on
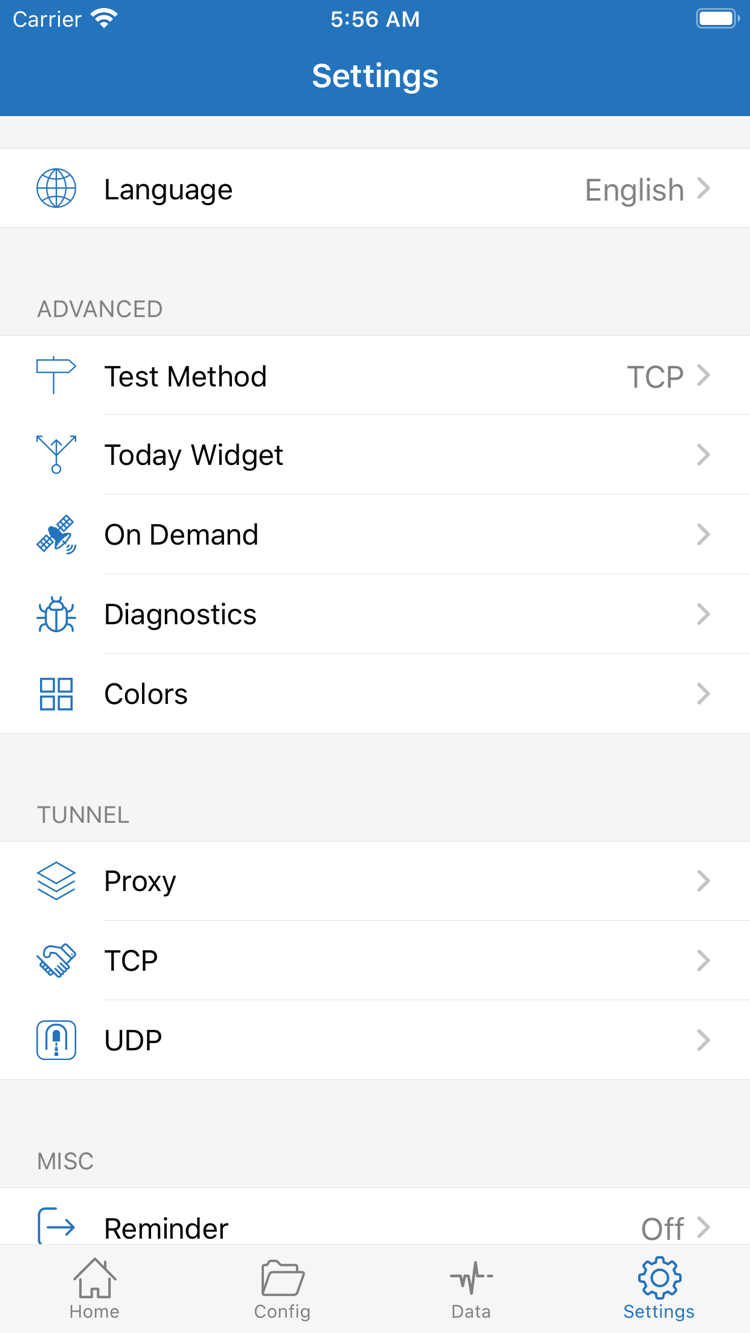
If the switch will not turn on, first check whether the system allows the VPN configuration to be added and whether another VPN connection is already in use. Follow device management requirements on managed devices. If the issue is that the connection starts again after you turn it off, open Settings and check whether On Demand is enabled and whether the current network meets its conditions. Note the original setting, then make one comparison as needed so you do not mistake automatic activation for a faulty switch.
The switch stays on, but the test fails
Confirm that the device has a working network connection, then return to Home and check which entry the dot marks. For a manually added server, compare Type, Host, Port, and the fields required by the protocol one by one. Do not replace the original port with a guess. If you changed Test Method in Settings, note the current option. Results from different test methods should not be compared directly; use the same method when testing again.
The test succeeds, but everyday browsing does not behave as expected
First check whether you are still using Proxy or Direct for comparison, then confirm that the expected file is active under Config. If only some targets are affected, check their rule conditions, order, and final policy first; there is no need to start by changing TCP, UDP, or other settings. For further investigation, see Diagnostics. Before sharing results, hide subscription links, server credentials, and any unnecessary browsing records.
Next: Repeat the test using the verification steps. If you have identified where the failure occurs, check the FAQ for the specific symptom. For protocol field explanations or comparisons between protocol types, see the technical reference.